Cabinet V1
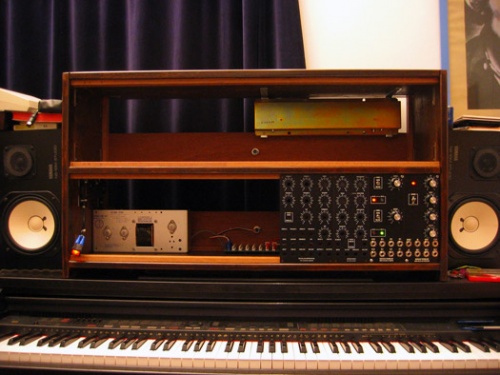
I’ve started to build a MOTM Modular. Here is the beast in the initial state of construction. The cabinet is 21 units wide, two rows for a total of 42 1u modules. The psu is a Power-One HCBB rated at 75w.
The two reverb tanks are for the TLN-156 Neural Agonizer. I’ve choose large ones (4FB3D1B) but if I should do it again i’ll go for smaller ones. They really take too much space in there.
Cabinet V2
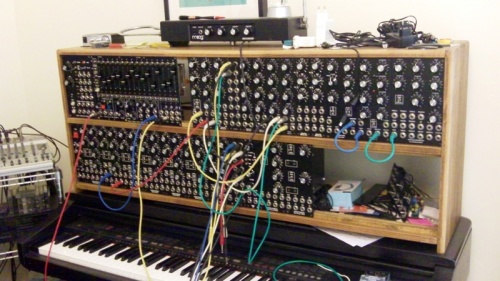
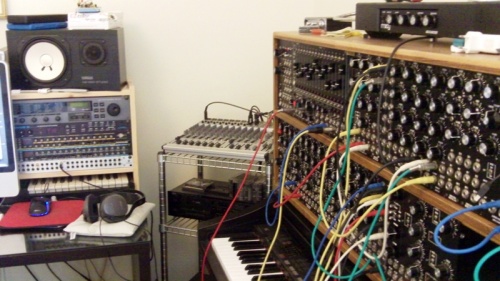
Very quickly I’ve outgrown the capacity of the first cabinet and built another… This cabinet is 29 units wide, two rows for a total of 58 1u modules. The plan was to have another identical cabinet above this one but i’ve changed my mind again and thought it would be better to go with racks…
Cabinet V3
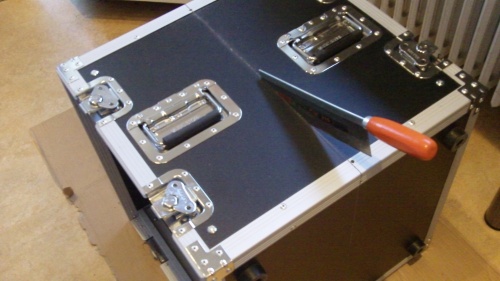
…So, i ordered 3 racks which are 52 cm deep. Why so deep you would ask, simple, cut them in two, add a back panel, some corners and you got 6 racks that are 27 cm deep, exactly the size that is needed. It’s a bit of a hassle to cut but it turns out quite nice and clean. I got lucky to find those racks with 2 handles so when you cut them you still have one handle on each rack.
In the picture bellow you can see how the original rack is (middle one) and on the sides are the 2 racks that i’ve already cut. Next step is to add the back panels, corners, rack rails and PSU.
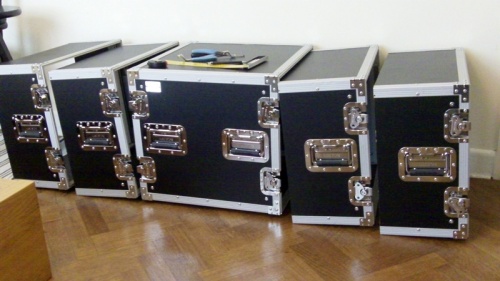
Cutting the last Rack.
First I’m cutting the aluminum corners with a metal saw, then with a small saw I cut the wood panel. I’ve tried using an electrical saw for this but the result was less precise. Finally cutting it by hand that way gives a very clean cut of the wood.
With the backs and corner rails installed . Next operation is painting the inside of the back panel with black paint and installing an aluminium air grid for ventilation.
Adding a IEC Power Inlet. I made a little template so I can get the plug in the same position for each racks.
Power inlet installed.
